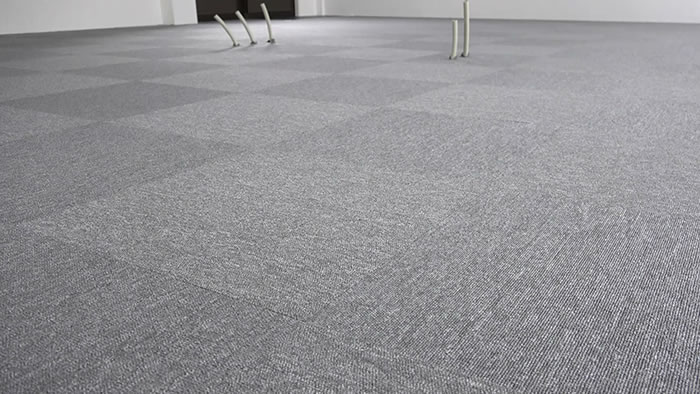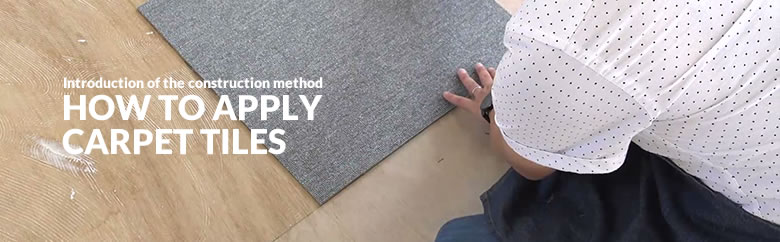
How to apply carpet tiles
You can lay the carpet easily by simply laying the tiles down one by one.VIDEO
PHOTOS
PREPARATION
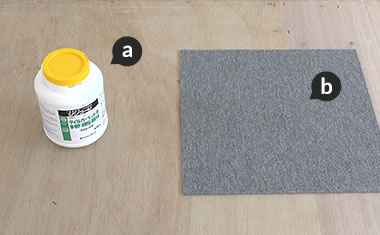
- a. Low tack adhesive
- b. Carpet tiles
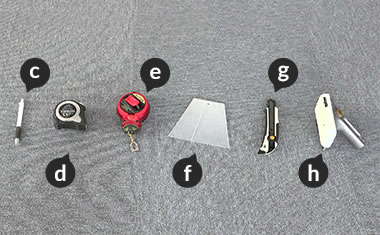
- c. Ballpoint pen d. Measuring tape e. Chalk real
f. Adhesive spreader g. Cutter h. Corner cutter
BEFORE STARTING
Sweep the floor.
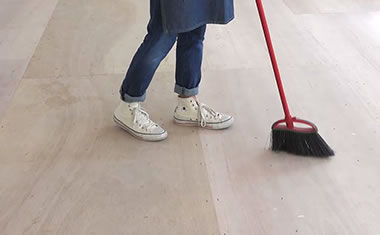
Sweep the floor well beforehand.
STEP1: Draw base lines.
Draw base lines.
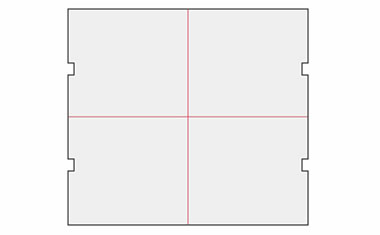
Measure the entire floor and draw two base lines crossing the floor in the center using a chalk real.
Adjust the line.
If you find out that you will need to use many incomplete tiles along the walls adjust the center position.
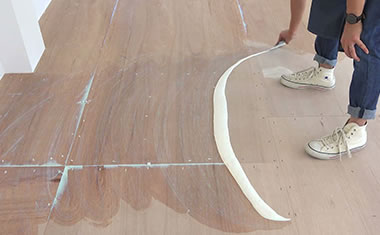
STEP2: Apply an adhesive on the floor.
Apply an adhesive to one side.
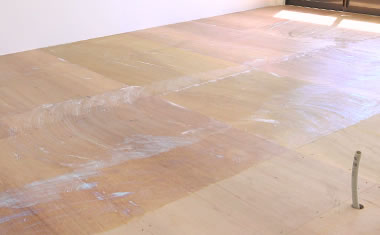
Pour adhesive on the floor and spread an even, thin layer using a spreader.
Dry.
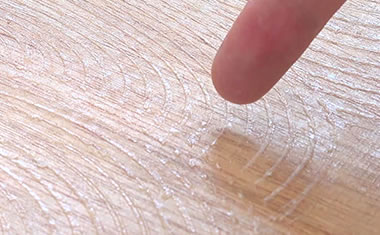
Dry it until the color of adhesive turns from white to clear. If the adhesive is not visible on your finger after touching, it is ready.
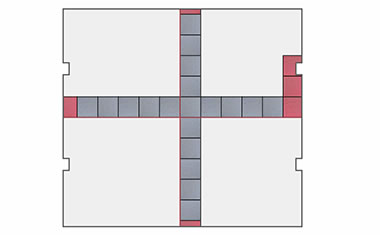
STEP3: Lay the tile carpets.
Lay the first tile.
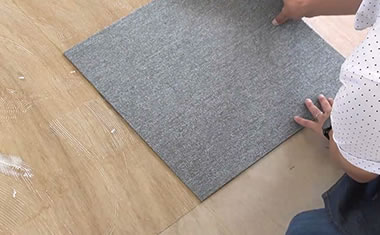
Lay the first tile just along the center line. The back of the tiles show the pattern direction.
Lay the second tile.
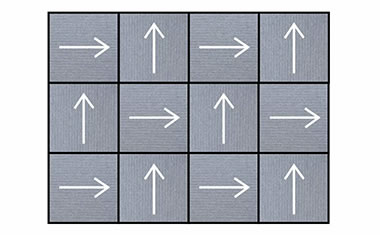
Lay the second tile in a different direction. This way, you won't need to worry about the patterns not matching up.
Leave space along the walls.
Leave space along the walls where you need to adjust the size of tiles.
Repeat.
Repeat the same process onto the other half of the floor.
If the floor has wires sticking out.
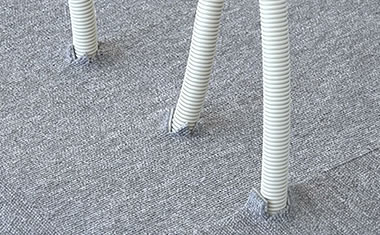
Make slits for the wires to go through if necessary.
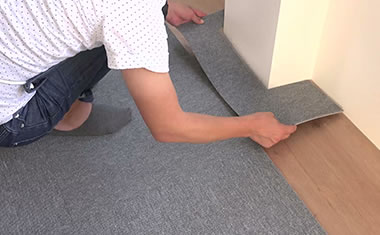
STEP4: Trim the edges.
How to trim using a cutter.
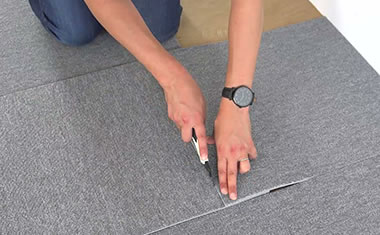
Place a tile on top of a protector next to the space for the tile to be laid. Then place another tile in the space over the top of the tile. Cut a straight line from top to bottom of the underlying tile along the overlapping tile. Fit the cut tile into the section.
How to trim using a corner cutter.
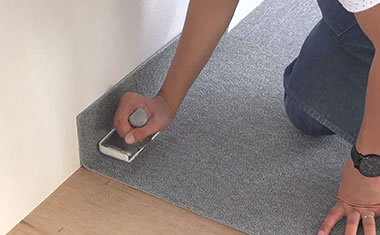
Place a tile into the section along the edge of the tile next to it. Push the corner cutter against the wall and slide it along the edge.
If the wall has a column.
Trim the edges to enable it to fit around the column.
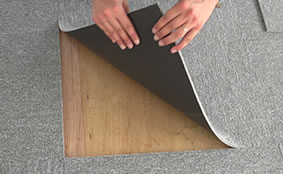
Adhesion of low tack adhesive lasts a long time. If one tile is stained, you can simply peel it off the floor from a corner and place in a new tile.
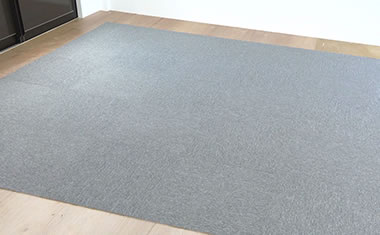
finished