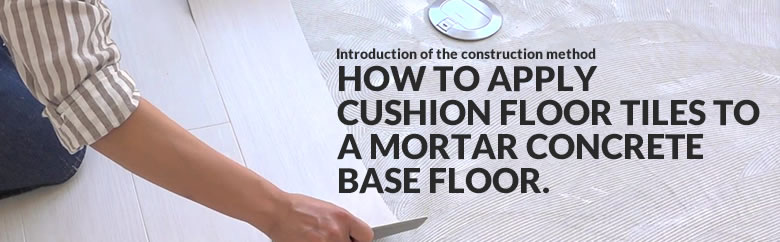
How to apply cushion floor tiles to
a mortar concrete base floor
All floor tiles can be installed one by one with glue.
VIDEO
PHOTOS
PREPARATION
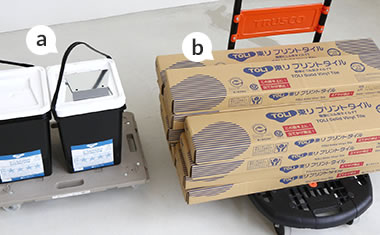
- a. Glue
- b. Floor tiles
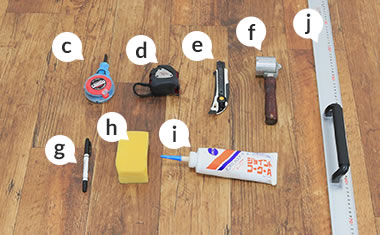
- c.Chalk line reel (to draw lines on the floor)
- d.Measuring tape e.Cutter
- f.Roller (to set the floor tiles onto the floor)
- g.Permanent marker (to mark the floor)
- h.Sponge (wipe off extra glue)
- i.Caulk ( gap filler)
- j.Ruler (to cut floor tiles straight)
BEFORE STARTING
Smooth out the floor.
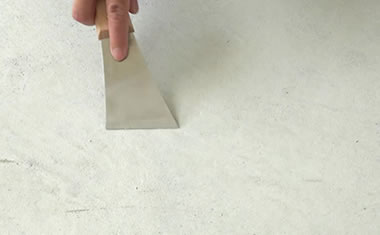
Smooth the bumps out on the concrete surface using a scraper.
Fix the cracks.
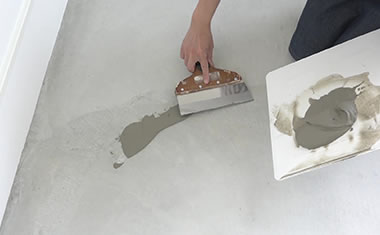
If you find any cracks on the concrete surface, repair with a trowel and mortar.
Sweep the floor.
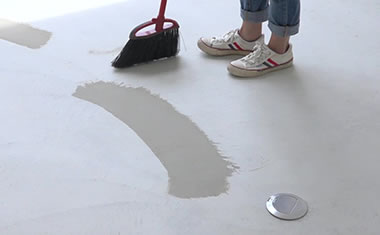
Sweep the concrete floor.
STEP1:Draw basic lines.
Draw the center line.
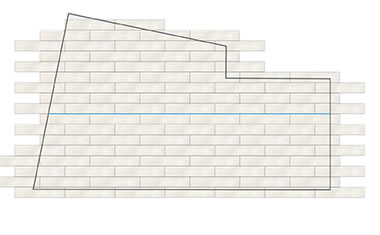
Draw a horizontal line (just like the blue line above) in the center of the room when you wish to apply floor tiles like above.
Mark the floor out.
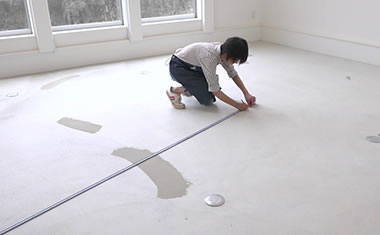
Mark the floor horizontally to a wall.
Draw a straight line.
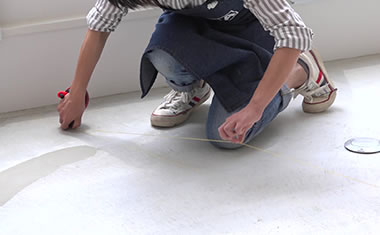
Using the chalk line reel, draw a line between the marks you have set on the floor.
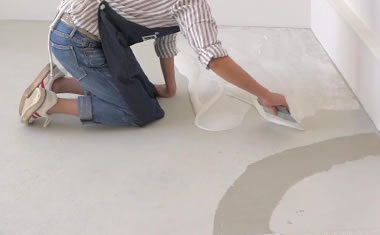
STEP2:Apply glue.
Areas glue will be applied.
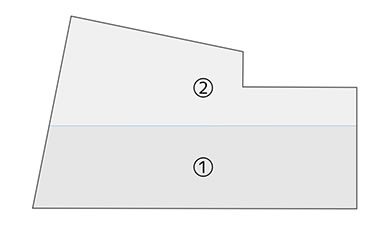
Spread glue on the floor to apply floor tiles. Divide the room into half or quarters depending on the room size and apply the glue.
Apply glue.
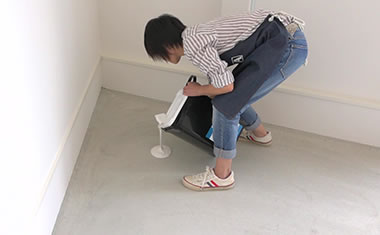
Apply glue from a corner of the room. Pour the glue onto the floor.
Spread glue.
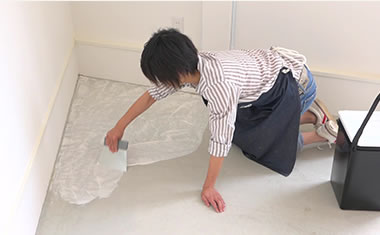
Spread the glue thinly using a special glue comb.
Dry for the directed time.
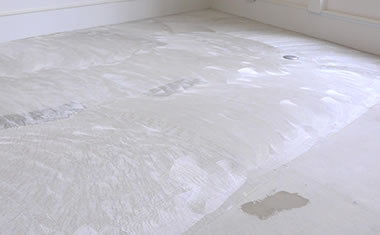
Allow to dry so that the glue has more of an adhesive effect. Please follow the directions on the glue for how long to allow to dry.
STEP3:Apply floor tiles.
Lay the first tile.
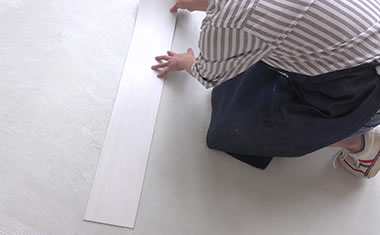
Start from the center line in the room. Make sure it is applied perfectly along the line.
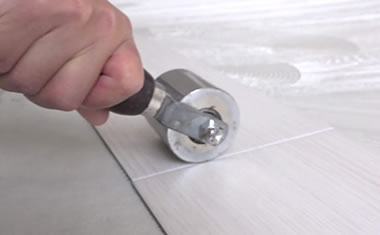
Push down firmly.
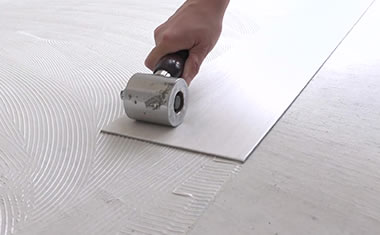
Push the tile down onto the floor firmly using a roller.
Lay the second tile.
Push down firmly particularly on the edges of the tiles so that they sit perfectly next to each other.
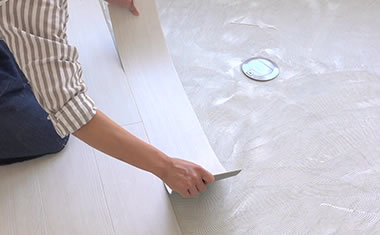
Cut tiles along the wall.
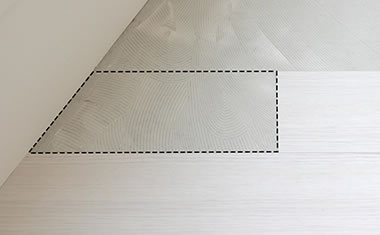
The tiles along the wall may need to be cut.
Measure the length to the wall.
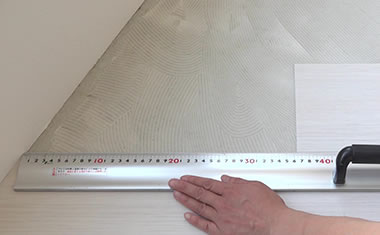
Measure each length from the edge of the tile to the wall.
Draw a line on a tile.
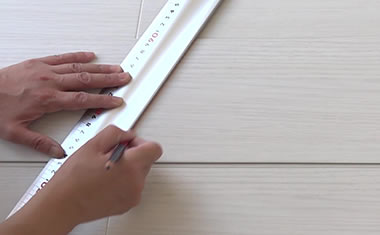
Mark a line so that the tile fits in the gap.
Make a slit.
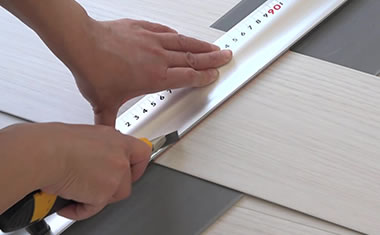
Make a straight slit using a cutter.
Bend the tile.
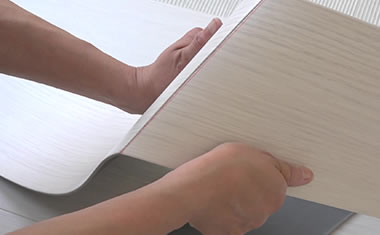
Bend the tile along the slit.
Cut off the tile.

Cut off the tile using a cutter.
Lay the tile.
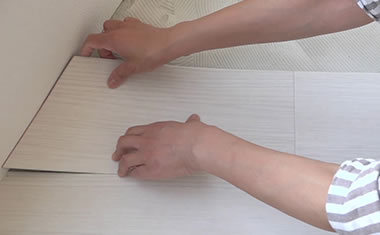
Lay the cut floor tile onto the floor.
Cut in a circle.
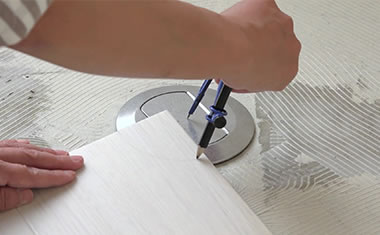
Draw a circle using a compass.
Cut using a cutter.
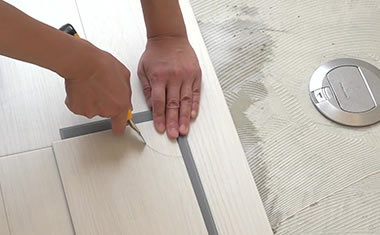
Do not bend it but cut out using a cutter.
Apply the tiles on the second row.
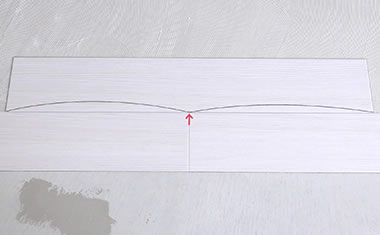
You will have a beautiful finish if the center of the tile above matches the border line of the tiles below.
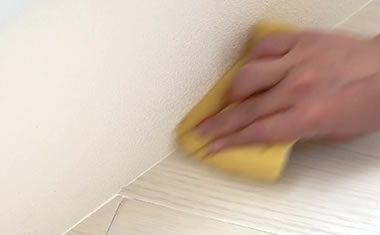
Wipe off excess glue.
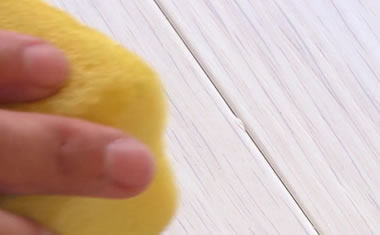
Wipe off excess glue with a wet sponge. (When it's water based glue.)
STEP4:Lay the tiles on the other half of the floor.
Spread the glue.
Spread the glue onto the rest of the floor from a corner.
Lay tiles.
Lay the tiles onto the rest of the surface.
When you find a gap.
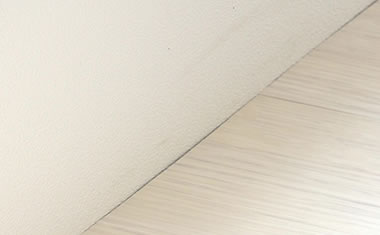
You may find gap between walls and tiles depending on how the tiles are cut.
Caulk the gap.
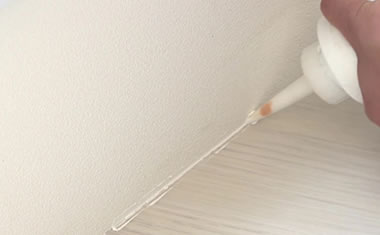
Apply some caulk into the gap.
Smooth out the surface
with your finger.
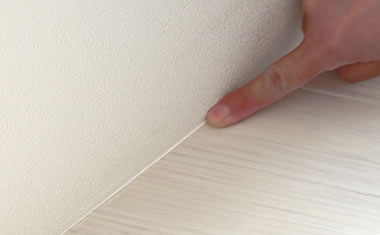
Push caulk in with your finger to smooth out the surface.
Wipe excess caulk.
Wipe off the excess caulk with a sponge before it dries.
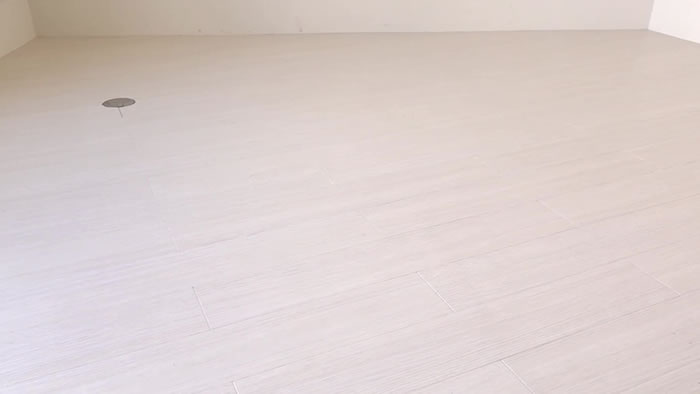
finished