How to apply putty filler on gypsum boards gypsum board adjustments
It's very important to fill in gaps and bumps with putty filler and smooth the surface in order to create a beautiful looking wall.VIDEO
PHOTOS
PREPARATION
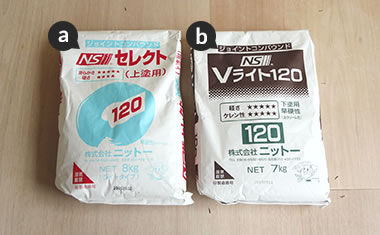
- a. Top coating filler
- b. Undercoating filler
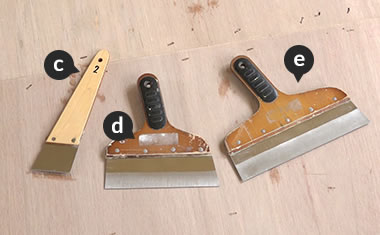
- c. Scraper for small area
- d. Scraper for undercoat layer
- e. Scraper for topcoat layer
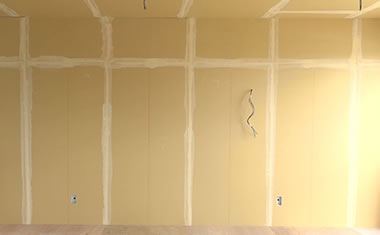
STEP1: Scrape and smooth the surface.
Scrape over the gaps.
Scrape over the gaps between the walls and remove any bumps. You can use sandpaper instead.
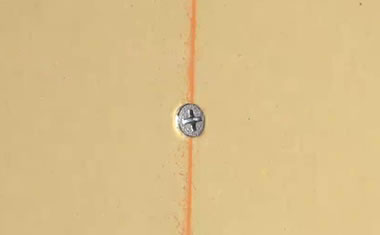
If you find nails.
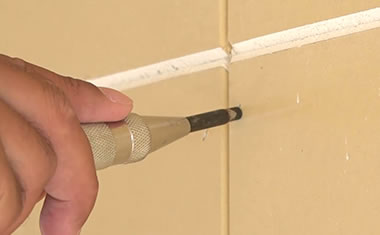
If you find any nails sticking out of the surface, hammer them in using a punch or hammer.
Scrape the large area.
Scrape the large area and smooth the surface using a bigger scraper.
STEP2: Make putty filler.
Materials for putty.
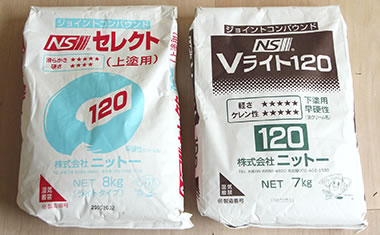
'Basecoat type' to fill in gaps and bumps and 'Topcoat type' to finish the surface. The time it takes for the filler to dry depends on the putty powder type. (These ones say 120 minutes.) Make putty filler that will enable it to be used within the time.
Mix with water.
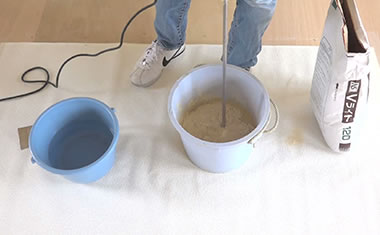
Pour water and the powder into a bucket, stir it well with a mixer so that it does not have any lumps.
Wash off mixer.
Once it's done, turn on the mixer inside water to wash off putty filler.
Use automatic putty filler maker.
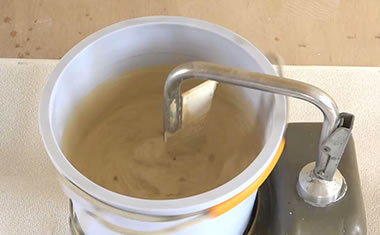
You can also make putty filler using an automatic machine.
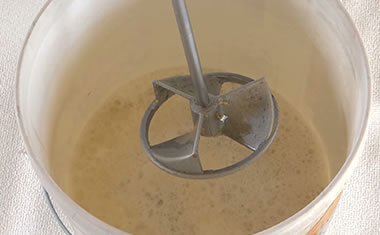
Finished putty filler.
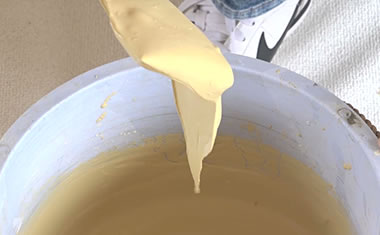
Mix it until you create this texture.
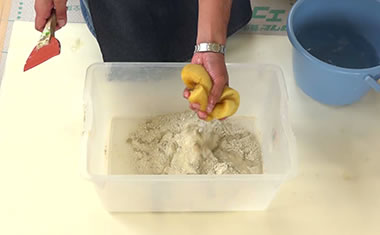
Make a small amount by hands.
If you want to make a small amount by hand, do so on a protection sheet. Make a well in the middle, to pour some water into, squeezing a wet sponge and mix well. Keep adding small amounts of water and mix well with a scraper. Make sure there are no leftover lumps.
Make a large amount by hands.
If you want to make a large amount of it by hand, stir in a large container using a rubber spatula.
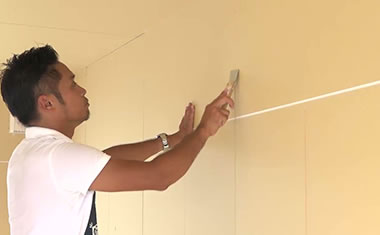
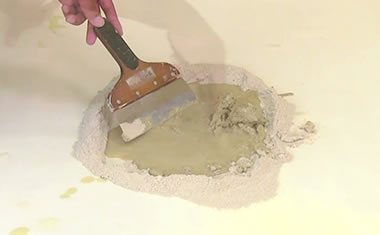
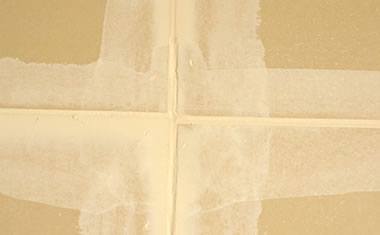
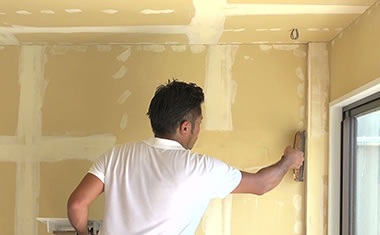
STEP3: Apply undercoat filler.
Apply undercoat filler.
Apply some filler on a filler board. Apply it onto the gaps and scrape the surface to remove any extra filler. Make sure the area you apply it on is approx. 10cm wide.
If you find an uneven height.
If you find an uneven height between walls, apply more filler to the lower wall and even it out using a large scraper.
Fill in dents of screws and nails.
Fill in dents of screws and nails. Repeat the same on all the walls and ceiling.
Dry.
Once you are done with the first base coating, dry until the color of the putty filler turns a stronger white.
Dried up gaps go bumpy.
The dry gaps seem slightly bumpy because the water inside the putty filler evaporates.
Apply the second basecoat.
Sand the area lightly and apply the second basecoat smoothing out the bumps.
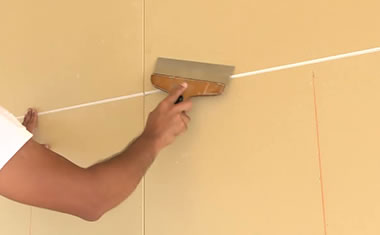
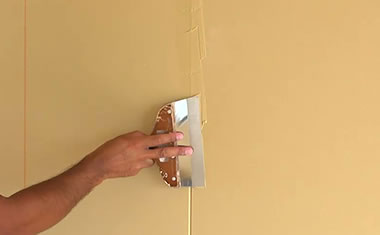
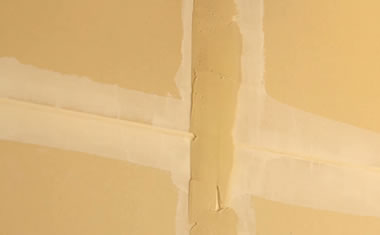
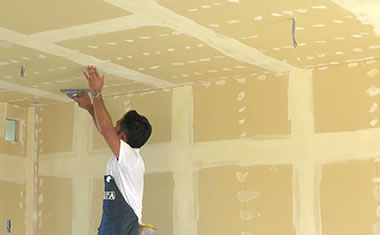
STEP4: Apply topcoat.
Apply topcoat.
Sand the dried filler lightly to smooth the surface and apply a topcoat onto the area. Apply the topcoat filler approx.20cm wide covering up the basecoat.
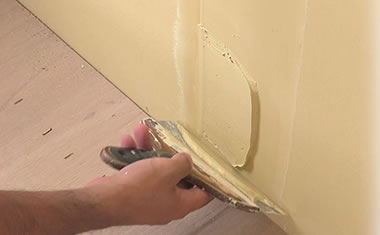
Dry and sand again.
Once the filler is dry, sand the surface again to make a smooth surface to finish.
finished