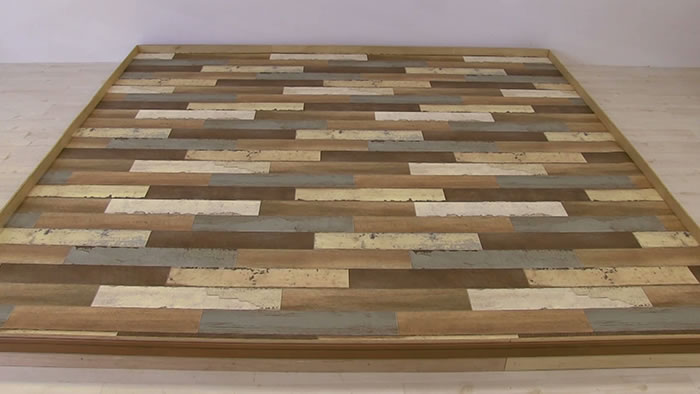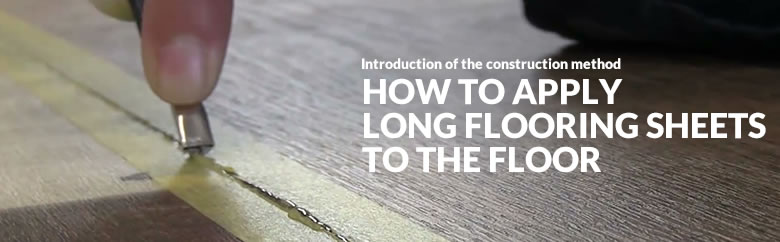
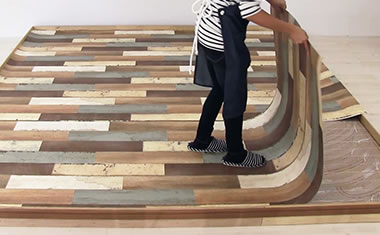
How to apply long flooring sheets to the floor
We are introducing a procedure to lay a long type of flooring sheet using seam sealer.VIDEO
PHOTOS
PREPARATION
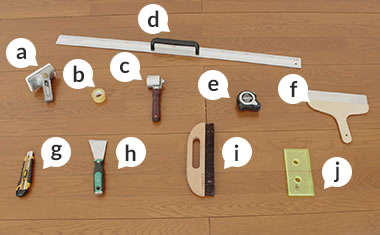
- a. Corner cutter b. Masking tape c. Roller
d. Ruler e. Measuring tape f. Large scraper
g. Cutter h. Small scraper i. Brush
j. Crack width ruler
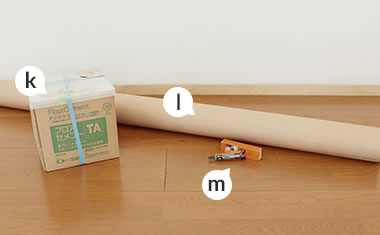
- k. Adhesive and spreader
- l. Long flooring sheet
- m. Seam sealer
BEFORE STARTING
Scrape over the floor.
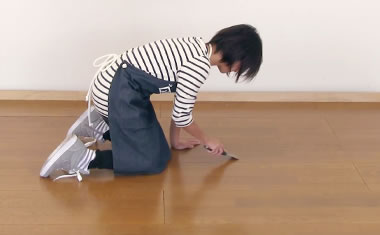
Scrape off any bumps on the floor and sweep.
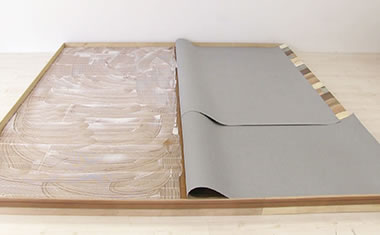
STEP1:Roll the sheets out.
Roll out the first sheet.
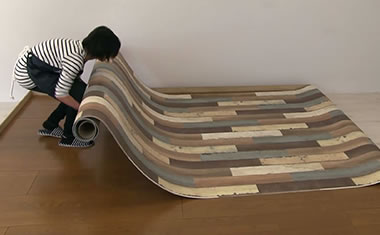
Roll out the first sheet and push it to a side of the wall. Cut leaving an extra 10cm on both ends of the sheet.
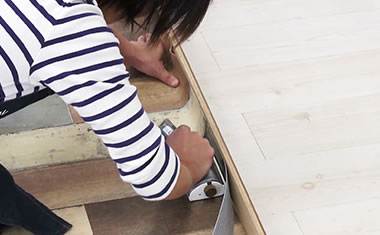
Measure the width of the floor.

Measure the width of the floor between the first sheet and the wall, add an extra 5cm and cut.
Draw a line.
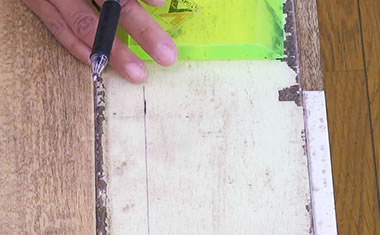
Choose a line for a seam using the pattern and draw a line along it.
Roll out the second sheet.

Roll out the second sheet and match the patterns with the first.
Cut the end of the second sheet.
Place a crack width ruler on the second sheet along the wall and cut. Push the second sheet to the side of wall and match the patterns.
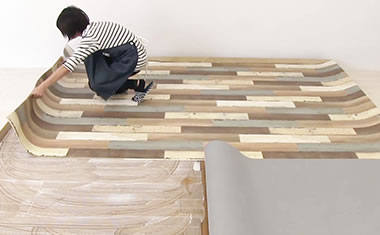
STEP2: Apply an adhesive to the floor.
Spread the adhesive on the floor.
Roll over half of the sheet, pour the adhesive on the floor and spread it. Apply the adhesive using a spreader and coat the floor evenly.
Open time.
Allow for open time until the adhesive is ready. The time it will take depends on the season.
Roll the sheet back.
Roll the sheet back over the floor slowly.
Smooth the surface.
Smooth the surface to get the air out using a brush.
Repeat the same on the other half.
Repeat the same process on the other half of the sheet.
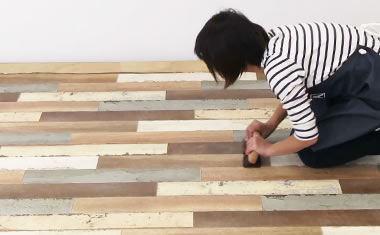
STEP3: Cut off excess.
Cut the ends.
Cut the ends of the sheets using a corner cutter and smooth the surface using a roller. You can cut using a smoother or a ruler pushing it into the edge.
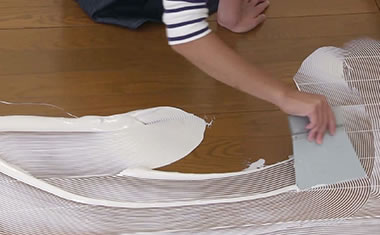
STEP4: Cut the seam.
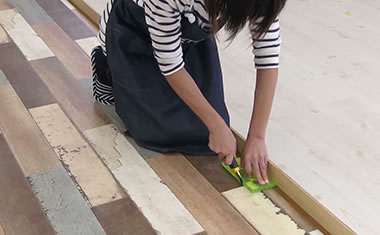
Cut the seam.
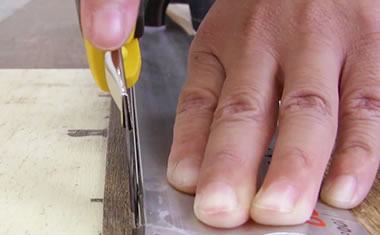
Cut along the line 5mm further outside from the seam.
Smooth the seam.
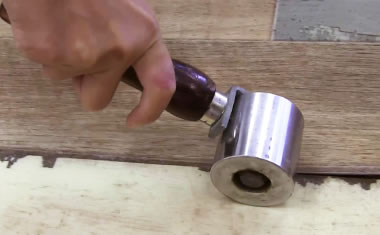
Remove the cut end from the underlying sheet and smooth the seam using a roller.
Pour in seam sealer.
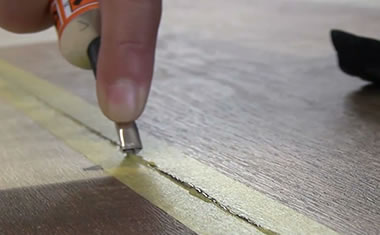
Tape over the seam, make a slit in the tape along the seam and pour seam sealer into the slit. Leave it for an hour.
Remove the tape.

After an hour, remove the tape.
finished