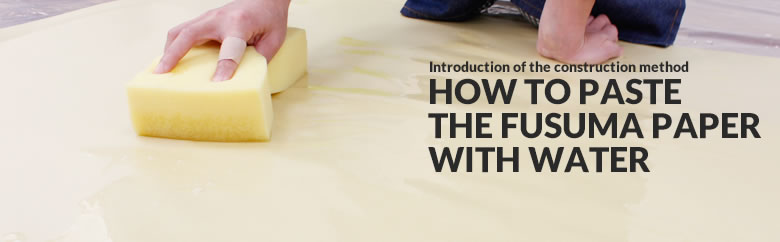
How to paste the fusuma paper with water
The re-wet type fusuma paper has glue on the backside of the paper that is easily made adhesive with the application of a little water. It is a bit difficult than attaching with glue or double sided type,however the final finish is professional level.VIDEO
PHOTOS
PREPARATION
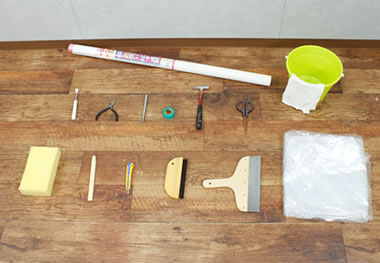
Things to prepare
- Prying Tool
- Bucket
- Flathead Screwdriver
- Dust Cloth
- Vinyl Sheet
- Sponge
- Rivet remover or Pliers
- Bamboo Spatula
- Punch
- Cutter
- masking Tape
- Brush
- Hammer
- Ground Spatula
- Scissors
Material to use
- Fusuma Paper to be pasted with water
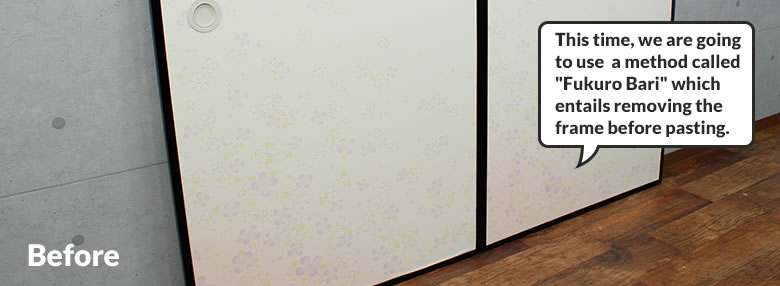
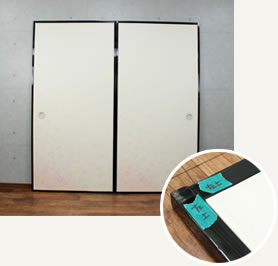
Depending on the type of Fusuma, the dimension of the fusuma door frame may differ both perpendicularly and laterally.
So when remounting the fusuma make sure the position or direction of the fusuma is right otherwise the fusuma won't fit beautifully and the opening and closing of the fusuma may not be smooth. Make sure you take note beforehand the position and direction of the fusuma by placing marks. One person can easily do the job but it is advisable for a smooth operation for two people to tackle the job.
STEP1: Removing the Fusuma Door
-
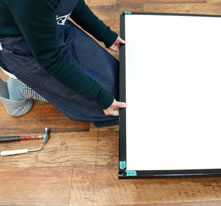
Remover the fusuma door from the top and bottom. Hold and shake the fusuma frame gently, separate the fusuma from the frame.
-

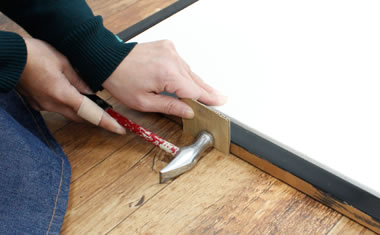
Insert the prying tool in the opening between the fusuma and frame and hit gently with the hammer and widen the gap or opening.
-
If the fusuma and frame are separated, hold the frame and pull out the protruding nails.
-
Carry out the same exercise from left to right to detach the entire frame.
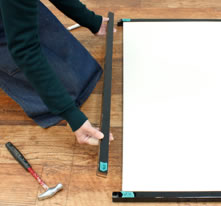
STEP2: Removal of the Fusuma Frame
-
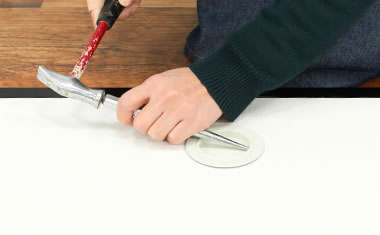
Insert the prying tool between the fusuma and catch (handle) and raise up a bit, becareful, use of excessive force might deform the fusuma catch.
-

When the rivet or nail protudes a bit from the catch (handle), pull it out with the plier.
-
After taking out the rivet (pin) from the catch , pullout the catch.
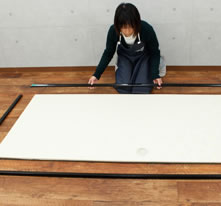
STEP3: Perparations to make before the pasting job
-

Straighten out the fusuma paper.
-
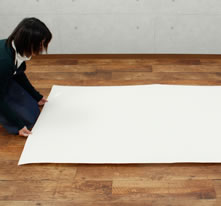
Place the fusuma paper on the fusuma and position it. In the case that the fusuma paper has patterns ,make sure the paper is aligned to the pattern alignment line.
-

Fold the paper at the edges of the fusuma to form a crease.
-
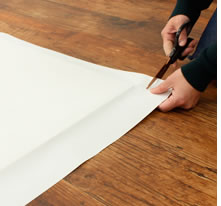
Cut in a straight line at a point 1.5 to 2cm from the crease.
-
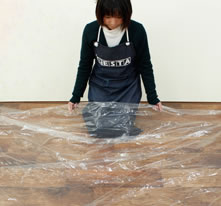
Spread a vinyl sheet on the floor so that the floor does not get dirty for hygienic reasons.
STEP4: Pasting the Fusuma Paper
-
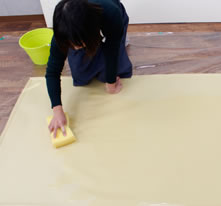
Flip over the fusuma paper and apply water on it with a sponge. The amount water to apply should be about 300cc to 400cc.
-
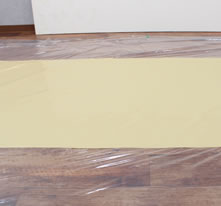
After applying water, it will take about 3 to 5 minutes for the paper to completely stretch. when the surface becomes slimy it is ready for pasting.
-
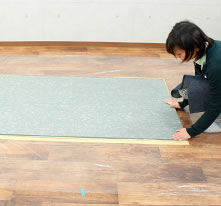
Place the Fusuma on the paper.
-
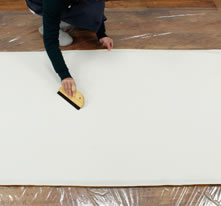
Filp over the Fusuma and use the brush to remove trapped air.
-

If there are spots with wrinkles, peel off and use the brush to re-paste from the center towards the periphery.
-
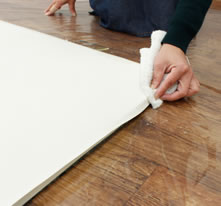
Use the dust cloth to crimp the sides.
-
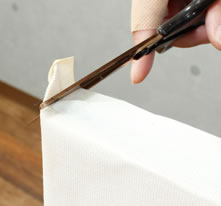
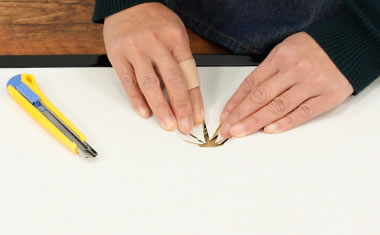
Use a scissors to cut the excess paper at the corners.
-

Apply the earth spatula and use the cutter to cut any excess paper.
-
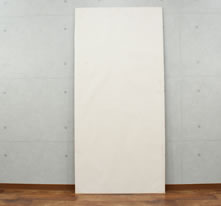
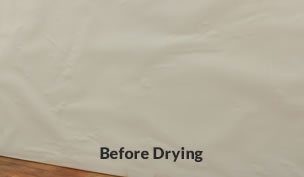
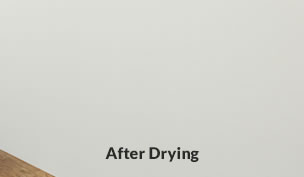
After cutting the excess paper. leave to dry for 12 to 24 hours.
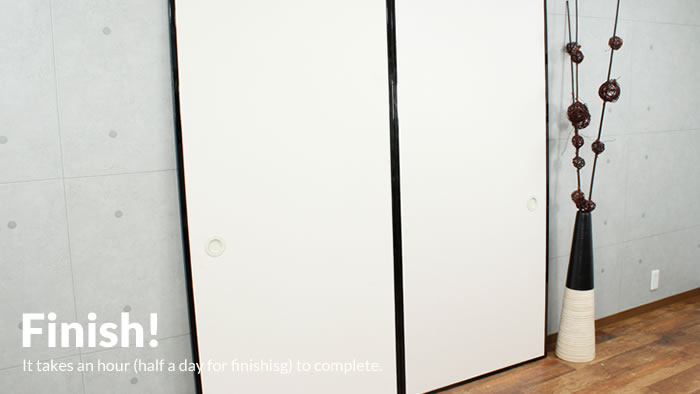
There maybe presence of wrinkles and sag Immediately after pasting the fusuma paper but after leaving to dry it finishes beautifully.
STEP5: Re-attaching the Frame

Fit the frame to match with the position that you marked. In the reverse order of removal, attach starting with the sideways frame.
When fitting in the frame, apply a cardboard before hitting with the hammer so as not to damage the frame.
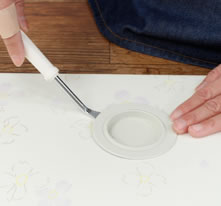
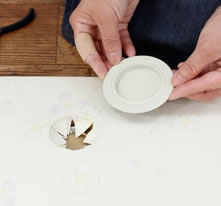
STEP6: Attaching the Catch
Use the cutter to create an incision for the catch.
Return the catch to its original position, use the punch to insert the pin (rivet).
finished