
How to apply cushion sheet floorings on the floor
Roll out the sheets on the floor and match the patterns.VIDEO
PHOTOS
PREPARATION
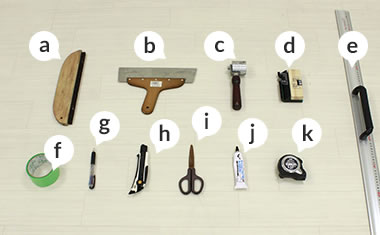
- a. Brush b. Steel wallpaper smoother c. Roller
d. Corner cutter e. Ruler f. Masking tape
g. Ballpoint pen h. Cutter i. Scissors
j. Caulk k. Measuring tape
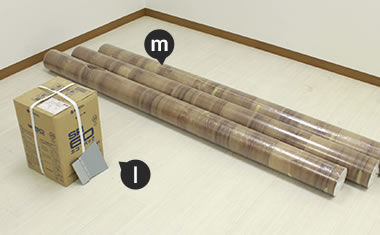
- l. Adhesive and adhesive spreader
- m. Cushion floor
BEFORE STARTING
Sweep the floor.

Give the floor a good sweep.
STEP1: Roll out the sheet.
Roll out the first sheet.
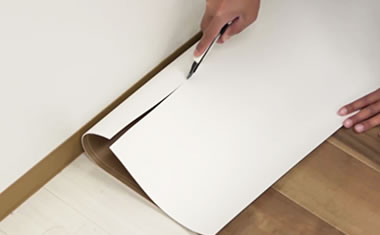
Roll out the first sheet of cushion flooring. Cut the excess leaving an extra 10cm on both ends of the sheet.
Set the position.
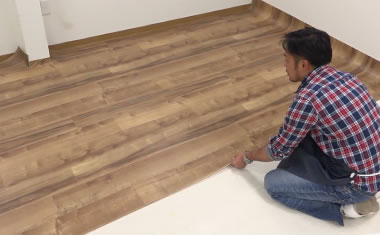
Push the sheet to the side along a wall and put it in position.
If the wall has a column.
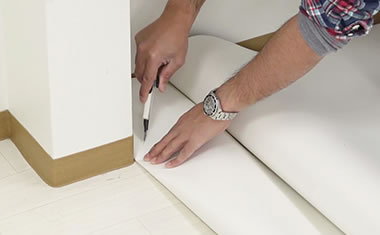
If you come across a column on the wall, push the sheet toward it and make slits on the sheet from where it touches the outside corners of the column towards the outside of the wallpaper using a cutter.
Roll out the second sheet.
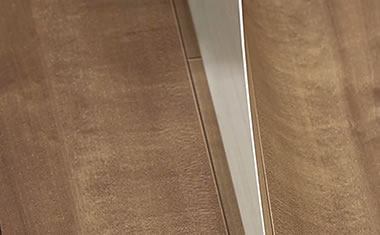
Roll out the second sheet and match the pattern with the sheet beside it. Make sure a few centimeters on the end of the second sheet overlaps the first.
Tape the sheets.
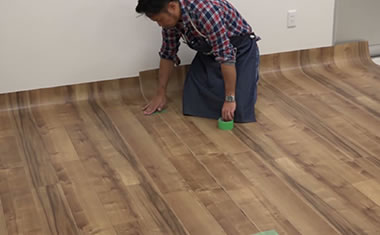
Once the patterns are matched, tape the sheets together.
For a smaller area.
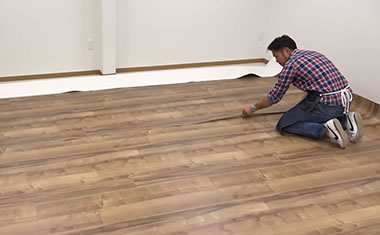
When you have a smaller area, cut a sheet to the required size beforehand. Spread the sheet out along to the wall and tape it to the sheet next to it.
Repeat the process around a column.
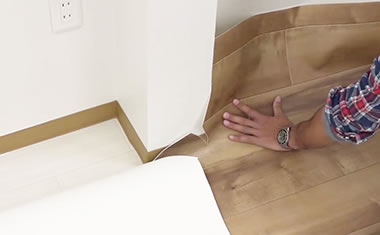
Repeat the same process around a column if necessary.
How to cut the sheet along the edges.
How to cut the sheet along the edges.
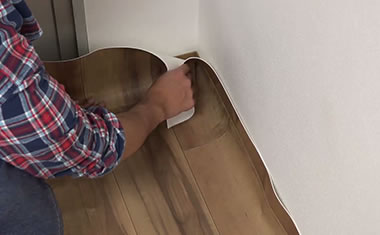
When you cut the sheet along the inside edges and corners, push the sheet up to the corner, make a slit on the sheet from the point it touches the corner towards the outer edge of the wallpaper.
Procedure for beginners.
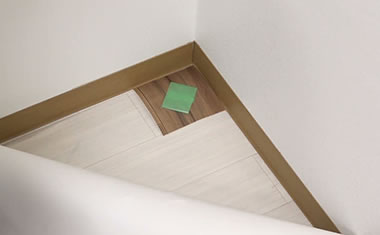
Place a small, square, pre cut sheet with double sided tape in the corner. Place the sheet on top of the pre cut sheet in the corner and lift it up. The smaller piece of sheet shows the exact position of the corner. Make two slits from the corner of the pre cut sheet facing the outer corner of the wallpaper.
STEP2: Apply adhesive to the floor.
Turn one side of the sheets over.
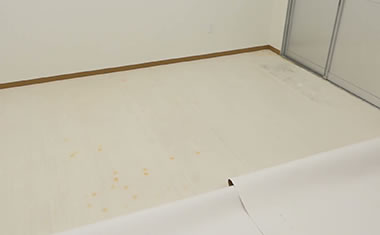
Remove the tape on the sheets and turn one side of the sheets over the other.
Pour the adhesive onto the floor.
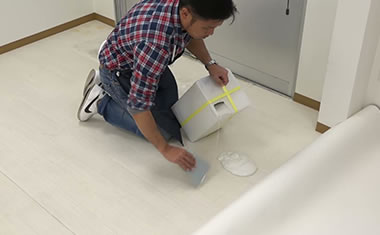
Pour the adhesive onto the floor and spread it using a plastic adhesive spreader.
How to use the spreader.
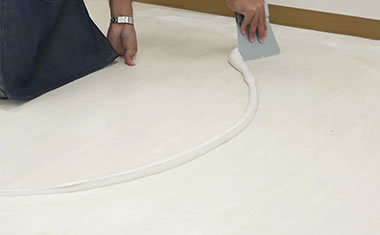
Use only one side of the spreader. Move the adhesive and spread it on the floor little by little.
Have an 'open time'.
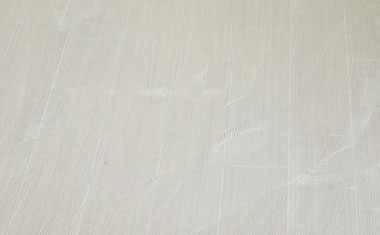
Leave the adhesive on the floor for a short period of time following the product's directions. The time between is called an 'open time' and length of time depends on the type of adhesive and weather.
STEP3: Roll the sheet back.
Roll the sheet back.
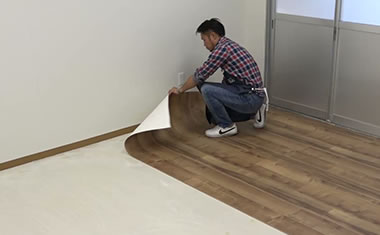
After the open time, roll the sheet back on the floor slowly. Make sure the patterns on the sheets match.
Smooth out.
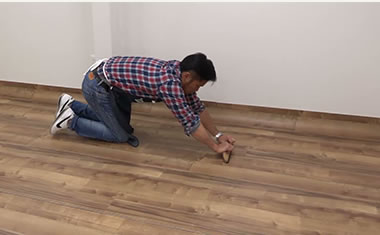
Smooth the surface to get the air out using a brush. You can also use a wooden block rolled up with a towel.
Repeat the process on the other half.
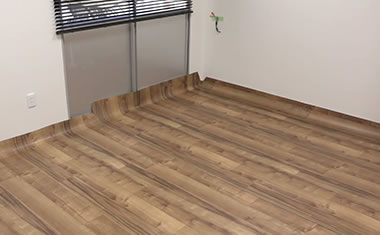
Repeat the same process on the other half of the sheets.
STEP4: Cut the ends of sheets.
How to cut using a smoother
and a cutter.
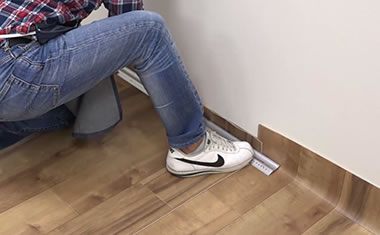
Push a smoother or ruler to the edge and cut along these using a cutter.
How to use a corner cutter.
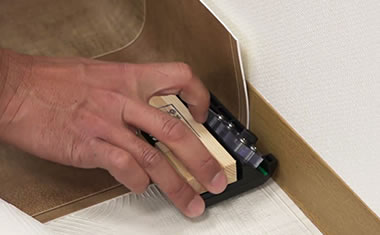
You can easily and beautifully cut the sheet by just pushing it into the edge. You still need to use a smoother and cutter in the corners.
Smooth out using a roller.
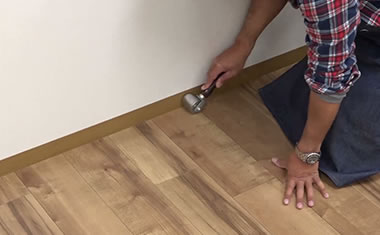
Smooth the surface along the wall using a roller.
STEP5: Cut along the seam.
Cut along the seam.
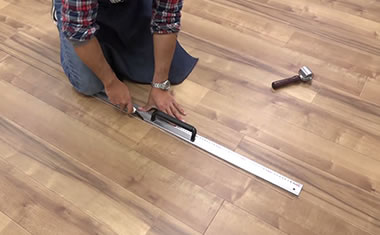
Place a ruler on the line 5mm outside from the pattern you used to match the two prior sheets. Cut down the entire length of the sheets. Remove the cut end of the underlying sheet.
Smooth the surface over the seam.

Smooth the surface over the seam using a roller.
Apply a special adhesive.
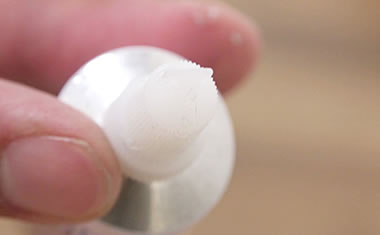
Apply a seam sealer for cushion flooring into the seam.
finished


