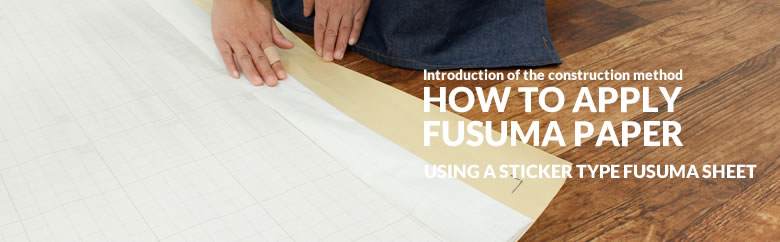
How to apply fusuma paper
using a sticker type fusuma sheet
There are several types of Fusuma paper, the type that just entails removing the wallpaper backing and pasting easily like seal is very common.The surface is embossed with a film and easy to clean when dirty making it ideal for homes with children.
VIDEO
PHOTOS
PREPARATION
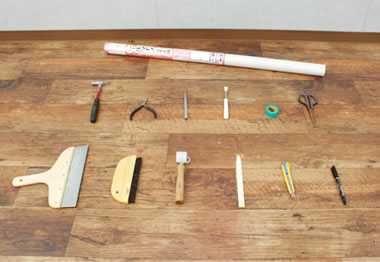
Things to prepare
- Rivet ,hobnail Removeror Pliers
- Hammer
- Brush
- Punch
- Roller
- Interior bar
- Bamboo Spatula
- Masking Tape
- Cutter
- Scissors
- Pen
- Earth Spatula
Material to use
- Fusuma Paper
STEP1: Preparations to make before the pasting job
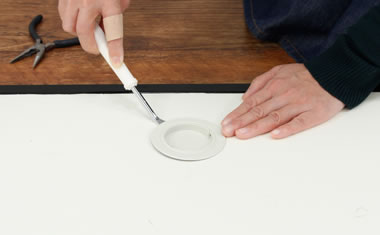
Insert the prying tool between the fusuma and catch (handle) and raise it up a bit, be careful, use of excessive force might deform the fusuma catch.
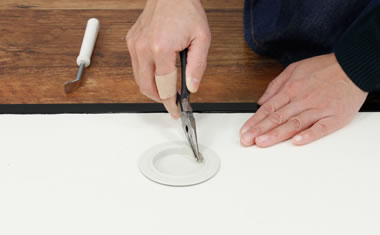
When the rivet or nail protudes a bit from the catch (handle), pull it out with the plier.
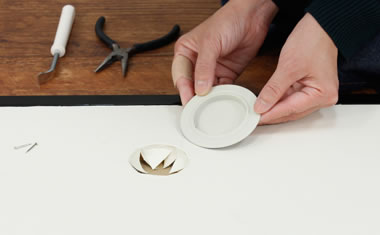
After taking out the rivet (pin) from the catch , pullout the catch.
To ensure that the fusuma paper does not stick to the fusuma frame , paste masking tape round the entire frame.
STEP2: Determine the pasting position of Fusuma paper
-
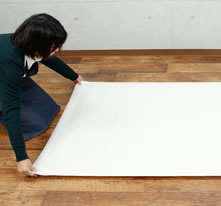
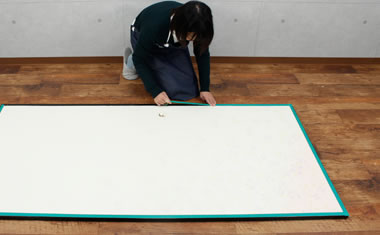
Spread the fusuma paper on the fusuma frame and adjust it to fit. If the fusuma paper has a pattern, make sure the paper is aligned to the pattern alignment line.
-
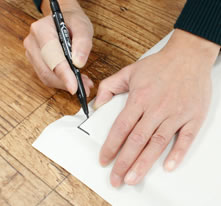
When the position is decided,inscribe marks on the fusuma paper at the edges of the frame.
-
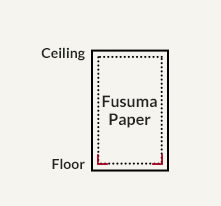
Inscribe the mark at the lower (floor) portion of the fusuma indicated in red.
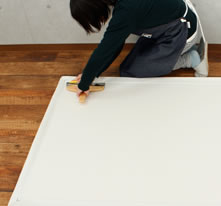
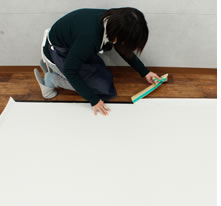
STEP3: Pasting the fusuma paper
-
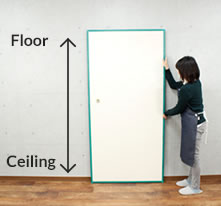
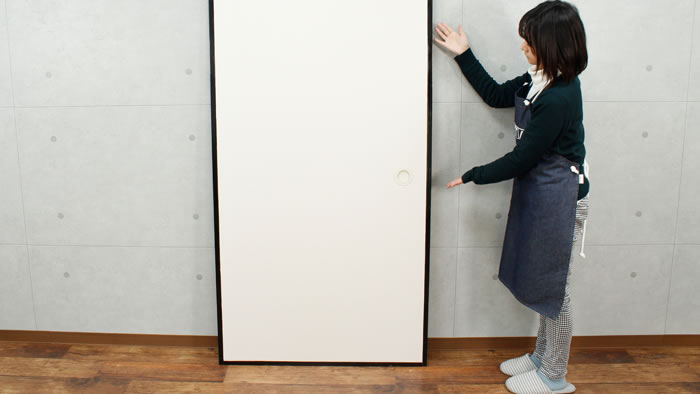
Lean the fusuma upside down against the wall.
-
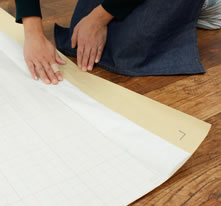
Peel off and fold the backing paper by about 10cm at the lower part with the arrow marks as shown in the pic.
-
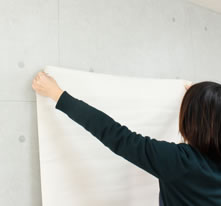
Adjust the fusuma paper to fit the marks that you inscribed and affix the fusuma paper to the frame temporarily.
-

Confirm that the fusuma is well aligned and straight on the fusuma frame.
-
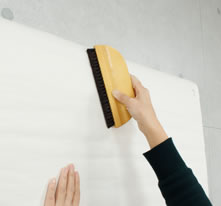
If the fusuma paper is straight, use the brush to crimp the portion that was temporarily affixed. Remove trapped air by brushing from the center towards the periphery.
-
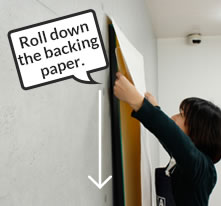
Once the position that the pasting was started is consolidated, gently peel off the backing paper for about 20 to 30cm.Make sure you do not remove the backing paper entirely.
-

Use the brush to crimp and remove trapped air from the portion that the underlying backing paper has been peeled off.
-
Repeat the previous operation until the entire fusuma paper is pasted.
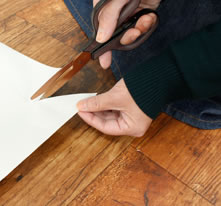
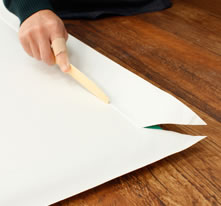
STEP4: Cut off the excess paper
-
Straighten out the fusuma paper.
-
Place the fusuma paper on the fusuma and position it. In the case that the fusuma paper has patterns ,make sure the paper is aligned to the pattern alignment line.
-
Fold the paper at the edges of the fusuma to form a crease.
-
After cutting, trim off any excess paper. Also remove the masking tape at this stage.
-
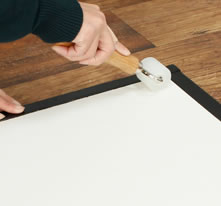
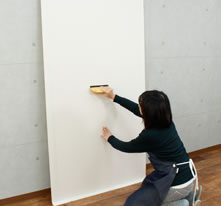
Use the roller to crimp along the inner portion of the fusuma frame as shown in the pic.
STEP5: Re-attaching the Catch

Use the cutter to create an incision for the catch.
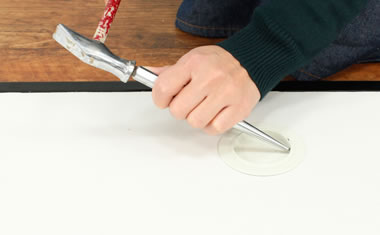
Return the catch to its original position, use the punch to insert the pin (rivet).
finished